|
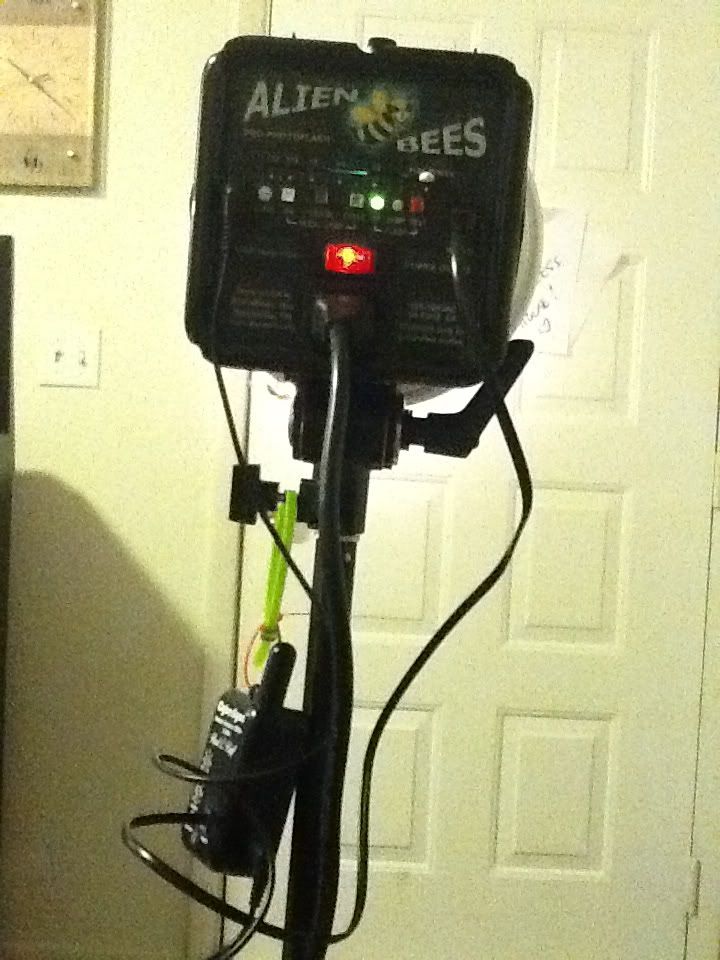
On the light. All model lamp buttons pushed in. Power slider to the far right (full). Reciever plugged in to "remote" jack (telephone jack). We also recommend plugging a cord into the "sync" jack.
On the CSRB+ make note of frequency and channel that is selected. Odd numbers are marked, even numbers are in between. Channel selection is indicated by the arrow on the dials. Press test button to ensure the reciever is turned on. Each receiver should have its own channel, all set to the same frequency.
On the CC. note the white text above the buttons. These have prompts as to what each button does and arrows to show you which direction to use. Please note the colors used in the description that follows. For the purposes of set up, some dashes are immediately important, some can wait.
With the CC on, use the right joystick (j/s) to scroll left or right until you enter the Setup screen. Use the right j/s up or down to highlight FREQUENCY, then press in. Verify the frequency matches that set on the CSRB+. Use the right j/s up or down to change.
Once selected, scroll right with the right j/s to reenter setup screen. Using the right j/s, scroll up or down to OPEN MEMORY, and press in. Using the left j/s, select STUDIO in the lower left corner. Press in with the right j/s.
When "finished opening" appears, you should see a white (that matches the text) or gray (that matches the graph bars) dashes at the bottom of the graph. One for each reciever.
Scroll right with the right j/s to reenter SET UP. Select "Spec lights", and press in. Use the left joystick to select to select the channel corresponding to the reciever. Use the right j/s to scroll up to "Alien Bees", and press in. USe the right j/s up or down to select B800, and press in (do not select ABR800). Select 150W and press in. Repeat these steps for each light.
If the dash at the bottom is gray, let me know. Otherwise, scroll back to the main flash screen and test out where you are, and we will go from there.
|
 Board index
 »
»